Outfy seamlessly integrates with your WordPress blog to help you automate and manage social media marketing. Once connected, Outfy imports your blog posts and allows you to automatically create and share content across platforms like Facebook, Instagram, Pinterest, Twitter, TikTok, and more.
Connect Your WordPress Blog to Outfy #
You can connect your WordPress blog the same way you connect a new store in Outfy.
After connecting, Outfy syncs your blog posts so you can start promoting them across your connected social media platforms.
For WordPress.com Blogs #
If your blog is hosted on WordPress.com, you can directly connect it with Outfy and start sharing your blog posts automatically.
For Self-Hosted WordPress Blogs #
If you use a self-hosted WordPress website, you need to connect your blog using the Jetpack plugin.
If Jetpack is already installed and connected to your WordPress.com account, you can skip directly to the Sign Up with Outfy section.
If Jetpack is installed but not connected to WordPress.com, follow the steps below.
Install the Jetpack Plugin
Log in to your WordPress admin dashboard.
From the left-hand menu:
- Go to Plugins
- Click Add New
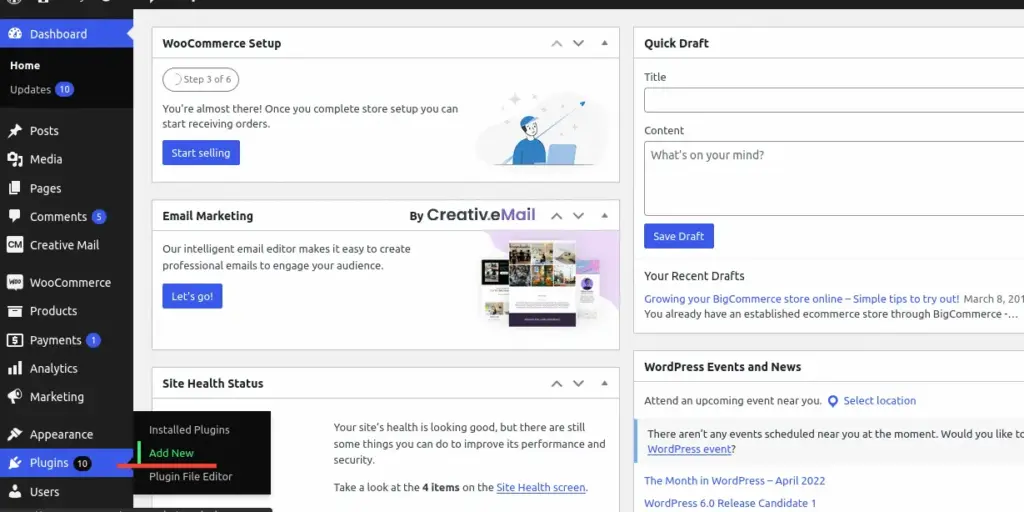
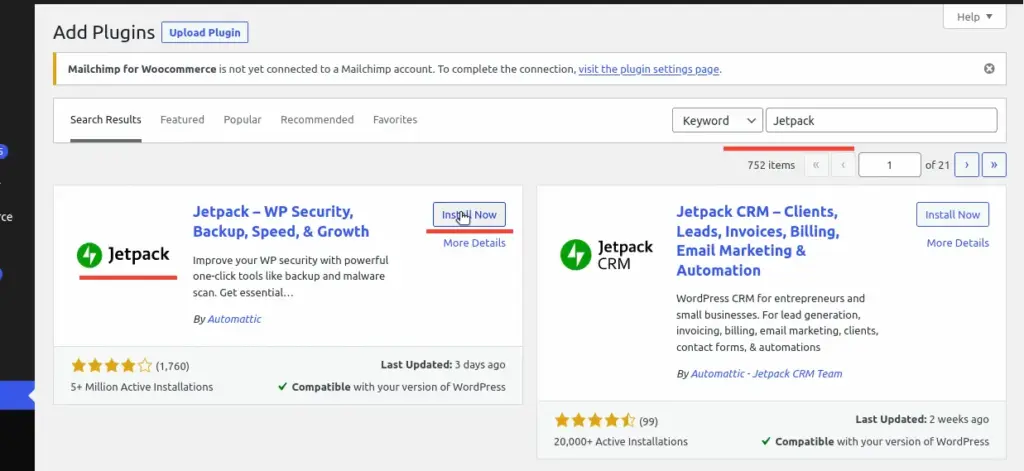
- Search for Jetpack
- Click Install Now
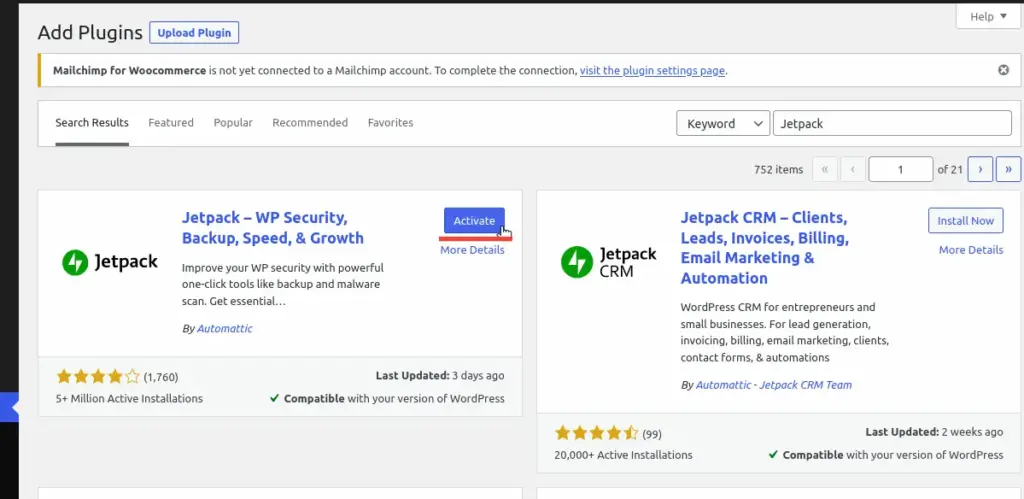
- After installation, click Activate
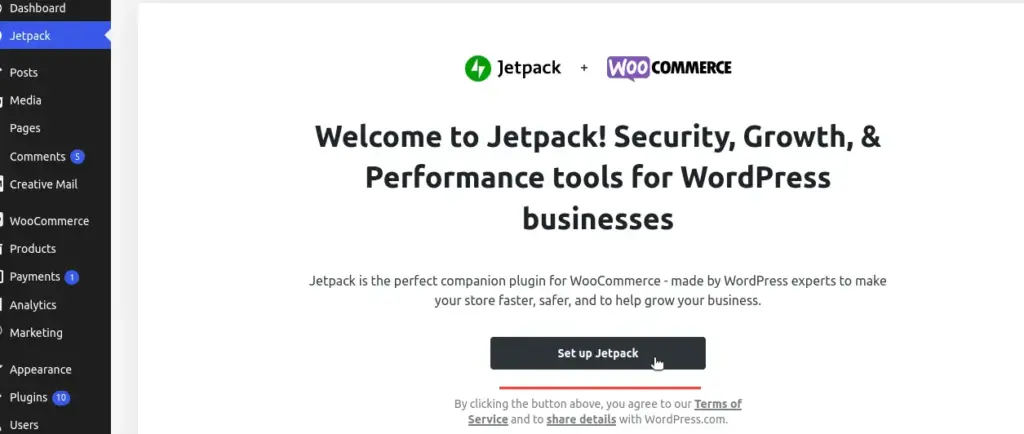
Once activated, a welcome screen will appear. Click Set up Jetpack to continue.
Connect Jetpack with WordPress.com
After installing Jetpack:
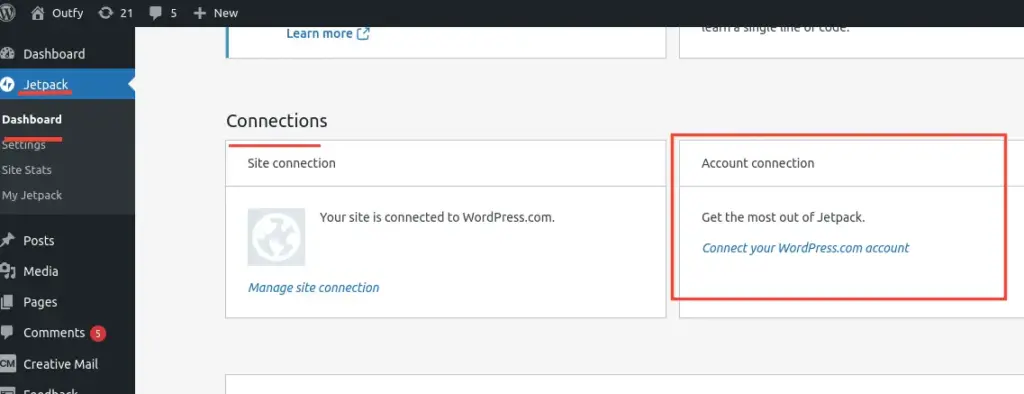
- Go to Jetpack → Dashboard
- Scroll to the Connections section
- Click Connect your WordPress.com account
- Click Connect your user account
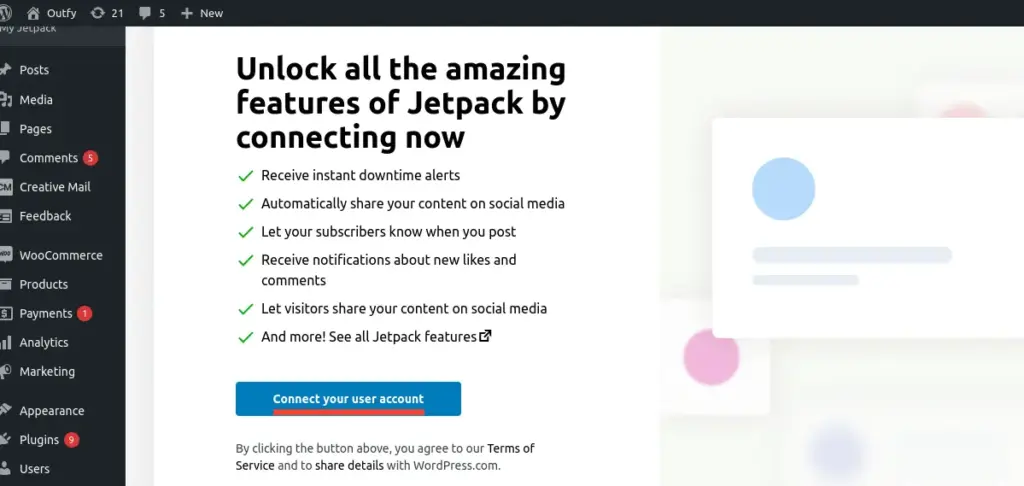
You’ll now be asked to connect your WordPress.com account.
Sign In to Your WordPress.com Account
If you already have a WordPress.com account, simply sign in using your existing credentials.
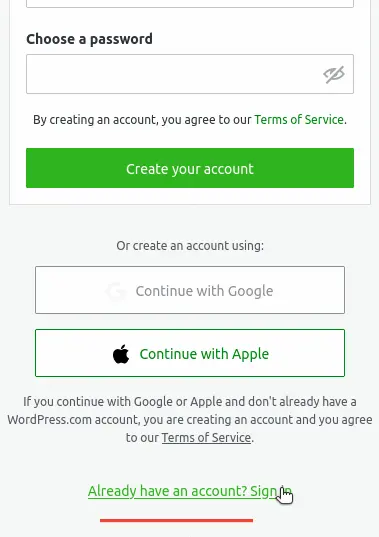
If you don’t have one yet:
- Create a new account using your email address, username, and password
- Click Approve to grant permissions
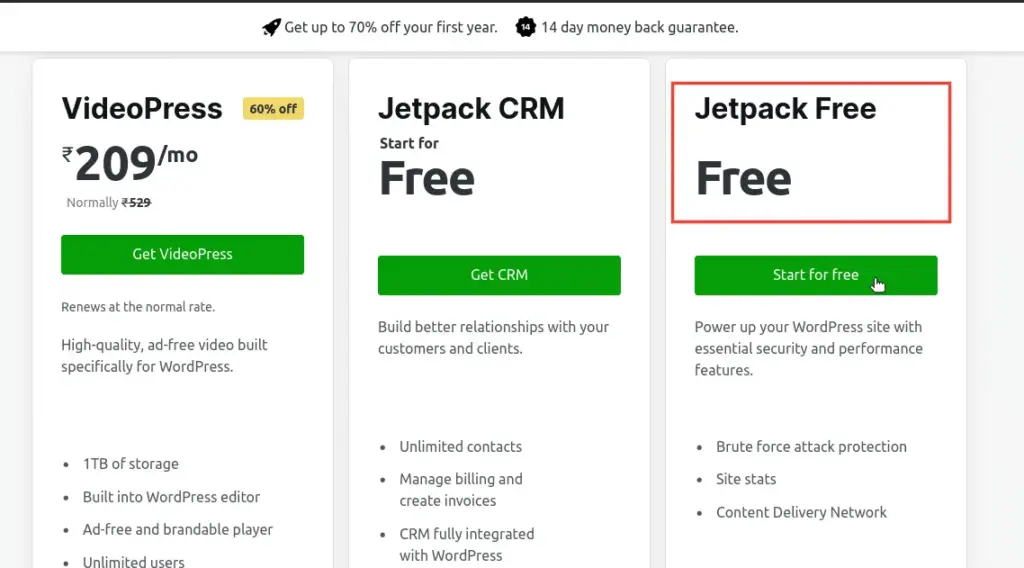
- Select the Free Plan to continue
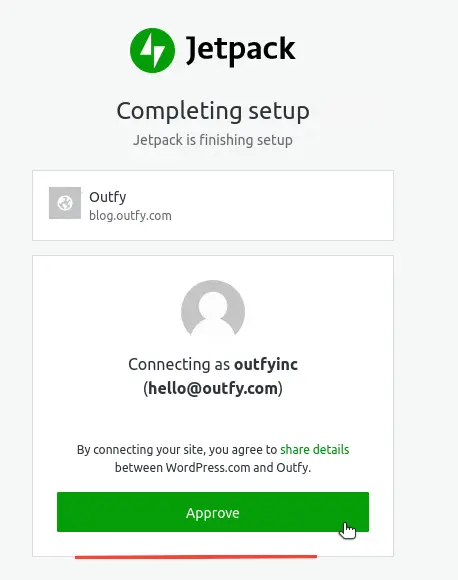
Once completed, Jetpack will be connected to your WordPress website.
Sign Up with Outfy
Now you’re ready to connect your WordPress blog with Outfy.
- Open the Outfy signup page
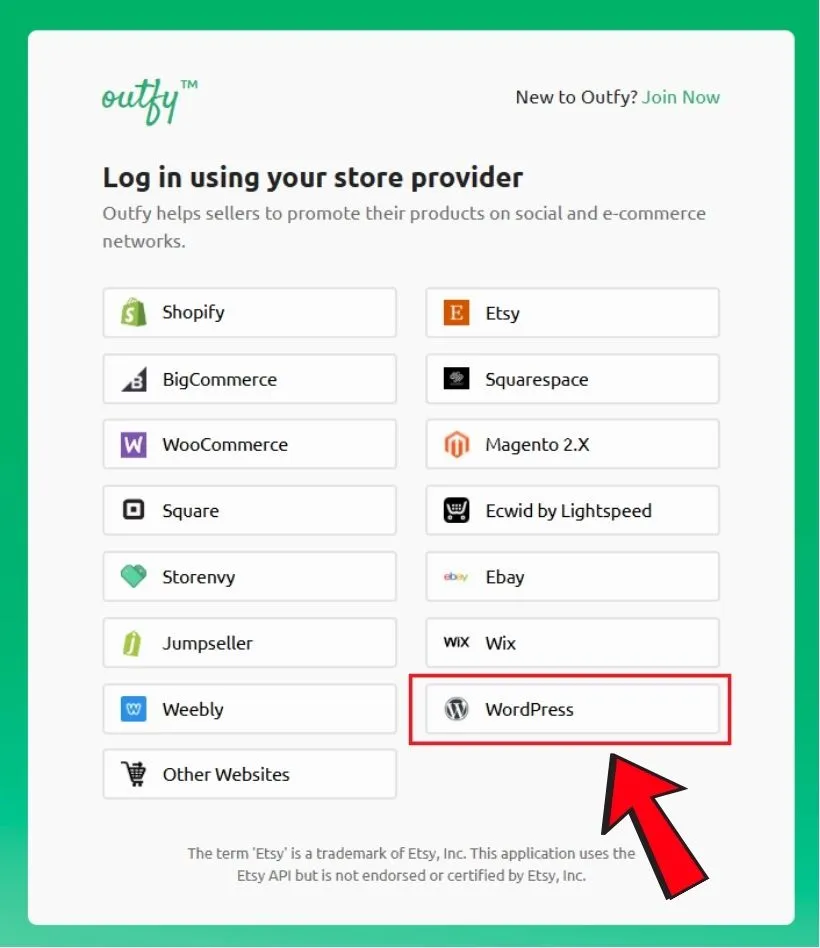
- Select Sign up with WordPress
- Sign in using your WordPress.com credentials
- Click Approve when Outfy requests access to your blog
After approval, you’ll be redirected to your WordPress admin page for final confirmation.
Enter your credentials to complete setup.
Connect Your Social Media Platforms #
After setup, you’ll be redirected to the Outfy Networks page.
Here, you can connect the social media platforms where you want to share your blog content, including:
- Twitter/X
- TikTok
- And more
Once your preferred platforms are connected, continue to activate your automation setup.
Note: At least one social network must be connected to continue.
Access Your Outfy Dashboard & Automation #
After setup is complete, you’ll be redirected to your Outfy dashboard.
Outfy can automatically:
- Create social media posts from your blog articles
- Schedule posts at optimized times
- Share content across multiple platforms
- Keep your social media active consistently
You can also use SmartQ automation to simplify content scheduling and daily posting.
Your WordPress blog is now successfully connected to Outfy and ready for automated social media promotion.