Introduction #
Outfy’s SmartQ feature lets you automate the posting of product images across your connected social media platforms. This helps you stay consistent, keep your audience engaged, and save time by eliminating the need to post manually every day.
Note: You must be logged into outfy.com and have your networks connected before setting up SmartQ automation.
Log in to Outfy #
Go to outfy.com and log in to your account.
Go to SmartQ #
From the left-hand menu, click on SmartQ.
- You’ll see a list of your existing SmartQ automation tasks (if any).
- To create a new one, click on Create New SmartQ in the top-right corner.
Fill in SmartQ Details #
You’ll land on the SmartQ Status page, where you can define how your automation will work. Here’s what you need to configure:
1. Task Name

Give your automation a name so it’s easy to identify.
Example: “Daily T-Shirt Product Posts” or “Weekend Sale Highlights”
2. Number of Product Posts Per Day
Choose how many product posts you want to publish per day per social media network.
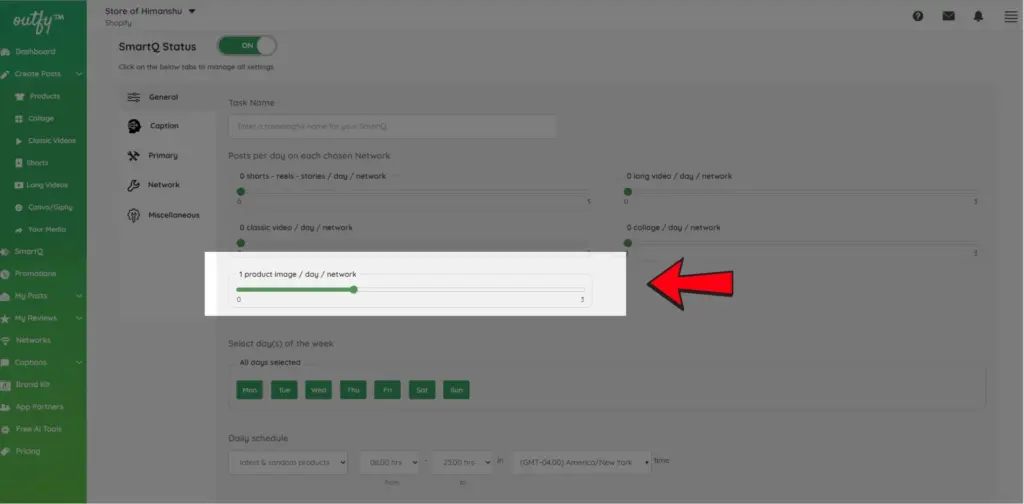
Note: You can automate up to 3 product posts per day per platform.
This keeps your posting frequency consistent without overwhelming your audience.
3. Select Days for Posting
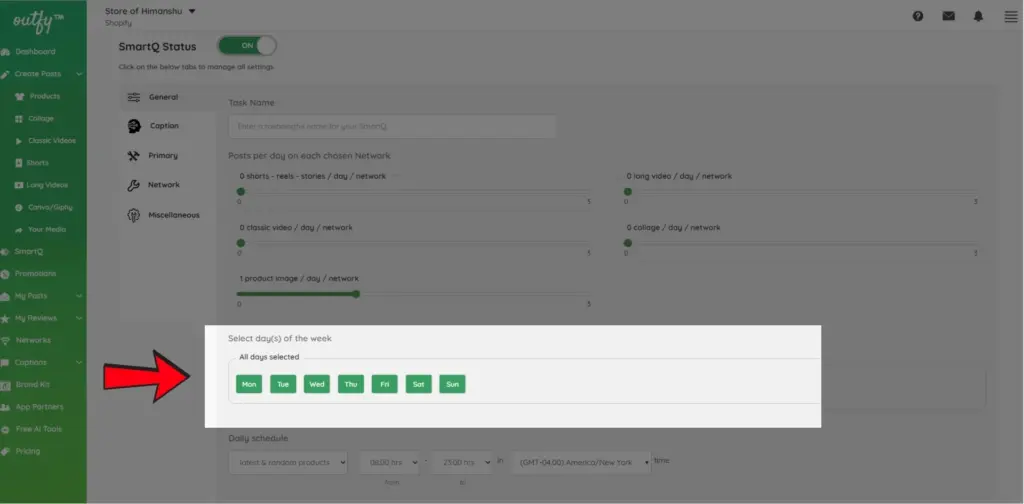
Choose the days of the week when you want SmartQ to publish your posts.
You can select any combination — for example, Monday to Friday, or weekends only.
4. Set Daily Schedule
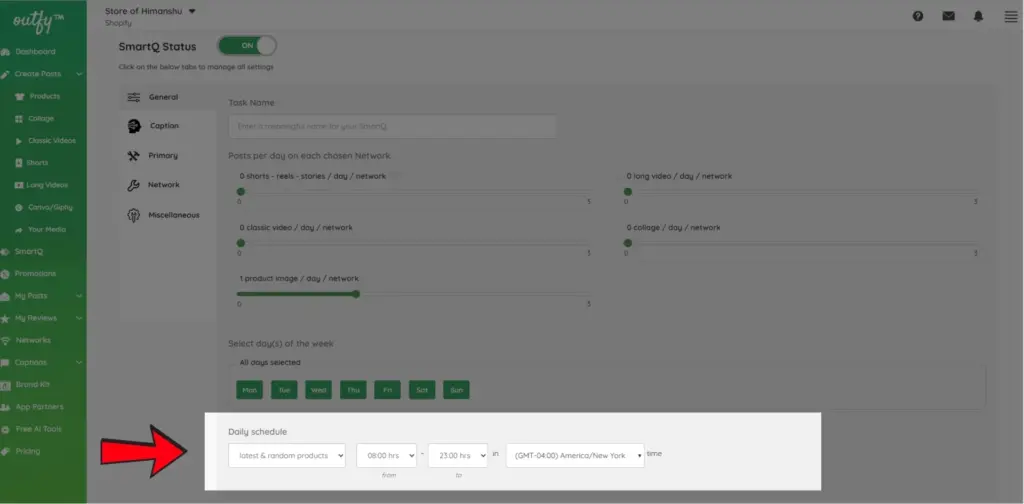
Define the time range during which your posts should go live.
- You can let SmartQ randomly schedule posts within a specific time window (e.g., 10:00 AM – 6:00 PM).
- By default, the system uses your account’s time zone, but you can change it to match your audience’s region.
Use the 24-hour format when entering your time range (e.g., 13:00 for 1 PM, 23:00 for 11 PM).
Caption Settings #
Choose how your captions will be generated.
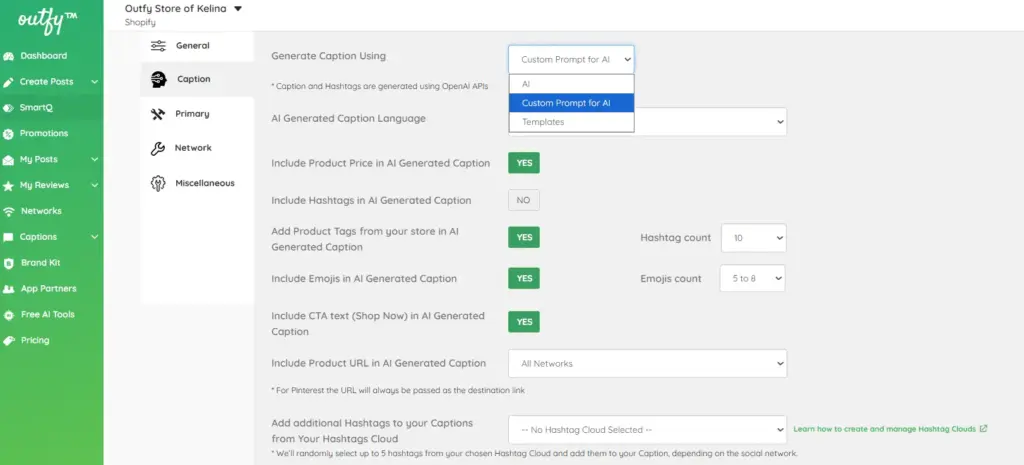
You can either use AI-generated captions powered by OpenAI, let Outfy use predefined templates, or create your own captions using the new Custom Prompt for AI option.
Note: For detailed instructions on all available caption settings and options, check our complete guide here.
Primary & Product Settings #
This section controls which products are used in the automation and how product images are handled.
Select Categories
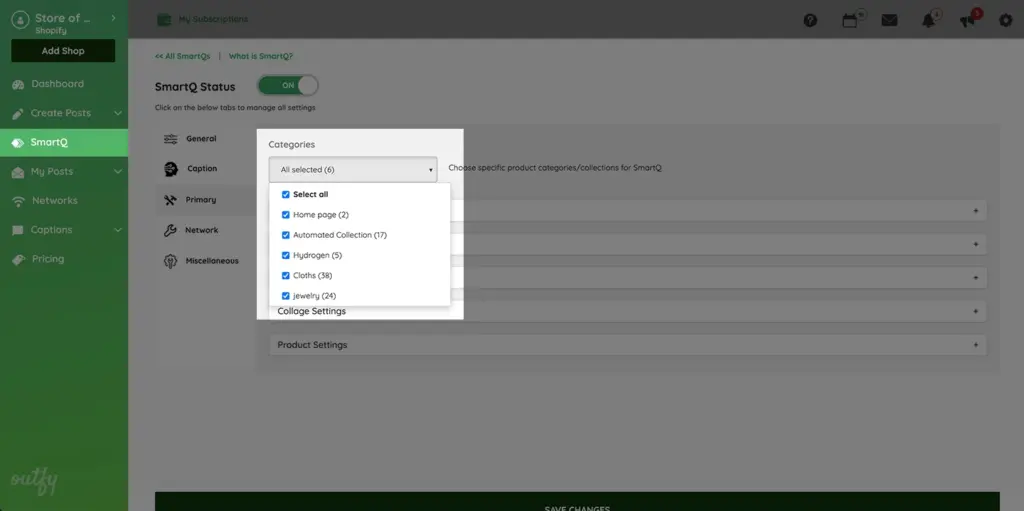
Choose one or more product categories for SmartQ to pull from.
- Click the dropdown menu to select categories.
- Only products from the selected categories will be used for automated posts.
This gives you full control over what type of items get promoted.
Product Settings
1. Rotate Image
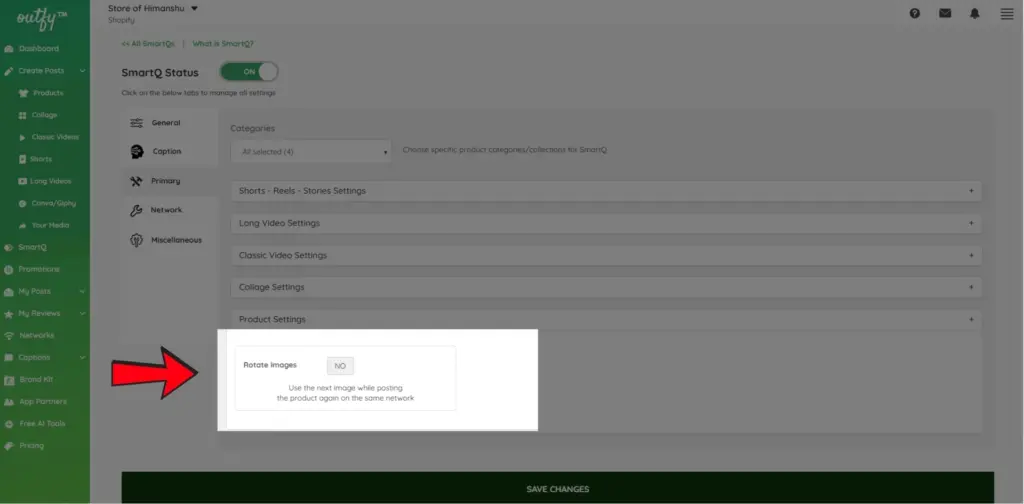
- When enabled, Outfy will rotate through available images of a product every time it’s reposted.
- This keeps your content fresh and avoids repeating the exact same post.
You can toggle this setting ON or OFF based on your preference.
Network Settings #
Here you choose the platforms where you want your product posts to appear.
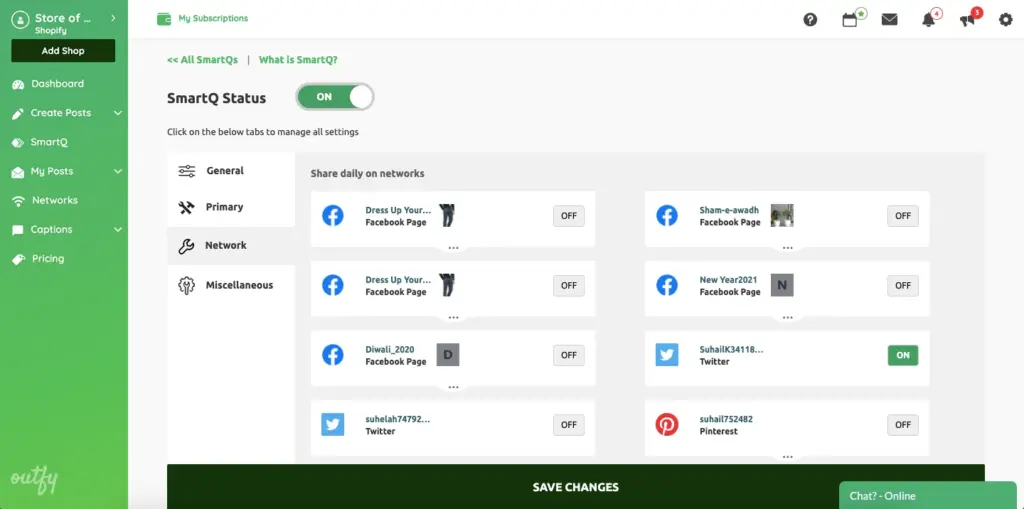
- All connected platforms will be shown.
- Deselect any network you don’t want included in this automation.
This ensures your automation only targets the right audience on the right platforms.
Miscellaneous Settings #
These are optional automation controls for advanced setup.
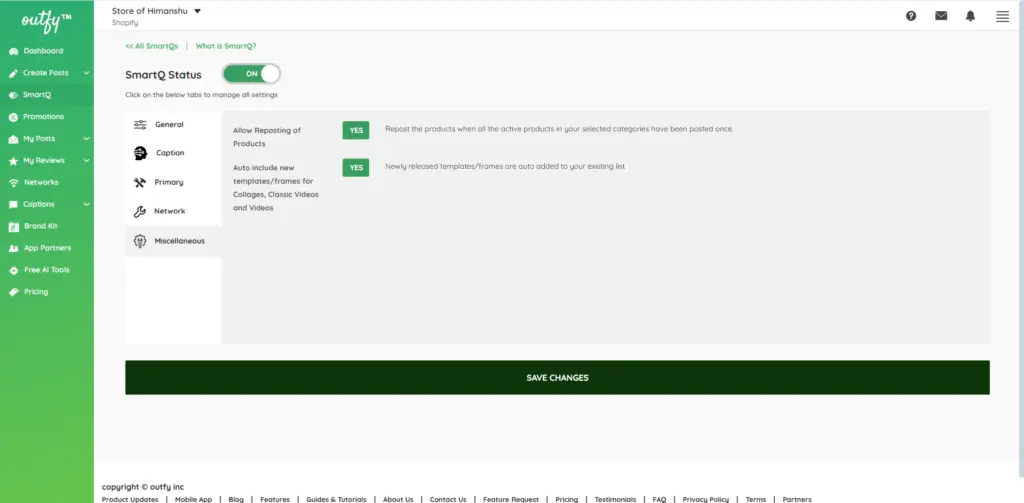
Allow Reposting of Products
When this is enabled:
- Products that have already been posted can be used again in future automation cycles.
- This helps fill content gaps, especially when your catalog is small or you post frequently.
Disable this if you only want to post new/unposted products.
Auto-Include New Templates/Frames
Enable this to let SmartQ automatically include new content templates (like collage layouts or video styles) as they’re released.
- Works for Collages, Classic Videos, and Videos
- Saves time by keeping your automation updated with the latest designs.
Save Your Task #
Once all settings are complete, click Save Changes.
Your SmartQ product post automation is now active and will run based on your schedule and selections.


