Introduction #
With Outfy’s SmartQ, you can automate the creation and posting of Classic videos, which are basic, across your linked social media accounts. It helps you maintain consistency, save time, and keep your audience engaged, without the need for daily manual posting.
Note: You must be logged into outfy.com and have your networks connected before setting up SmartQ automation.
Log in to Outfy #
Visit outfy.com and log in to your account.
Go to SmartQ #
From the left-hand menu, click on SmartQ.
- You’ll see any previously created SmartQ tasks listed here.
- To create a new one, click Create New SmartQ in the top-right corner.
Fill in SmartQ Details #
On the SmartQ Status setup page, enter the needed details to proceed.
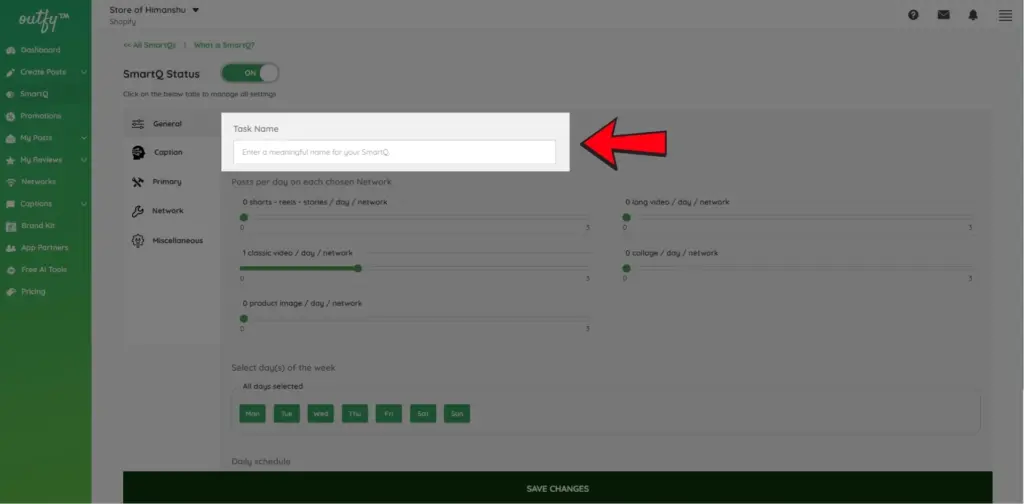
Task Name
Enter a clear and relevant name for your SmartQ task (e.g., Daily Classic Video).
Number of Classic videos to Post Per Day
Choose how many Classic Video posts you want SmartQ to create and share per day.
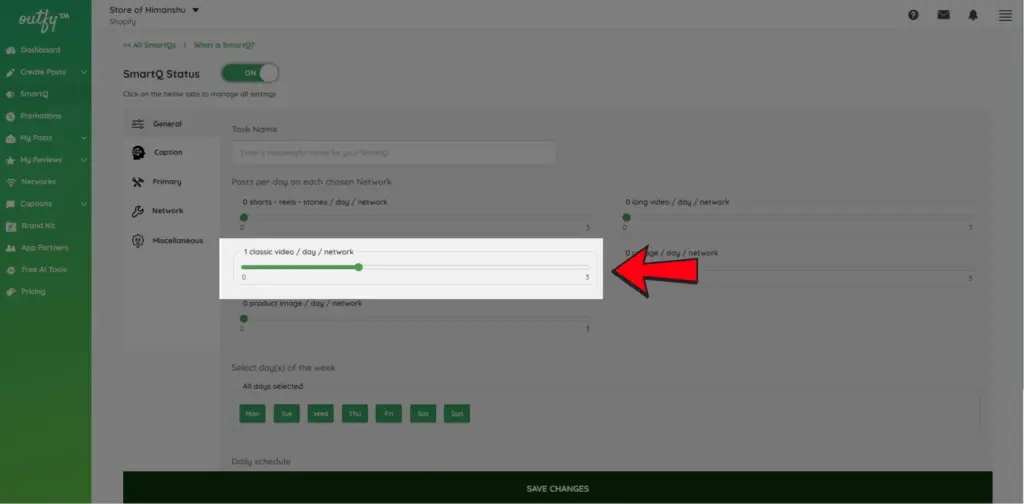
Note: You can only automate up to 3 Classic videos per day per network. If you want to automate other types of content, check here
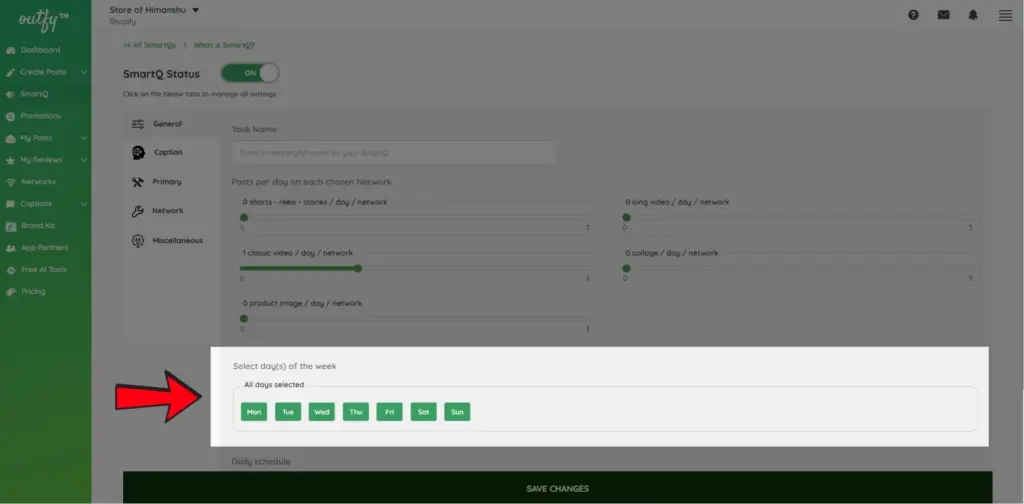
Select Days for Posting
Choose the specific days of the week you want SmartQ to publish your content.
Set Daily Schedule
Choose the time range for posting.
Note: Outfy lets you post in your default or custom time zone.
Caption Settings #
Choose how your captions are created.
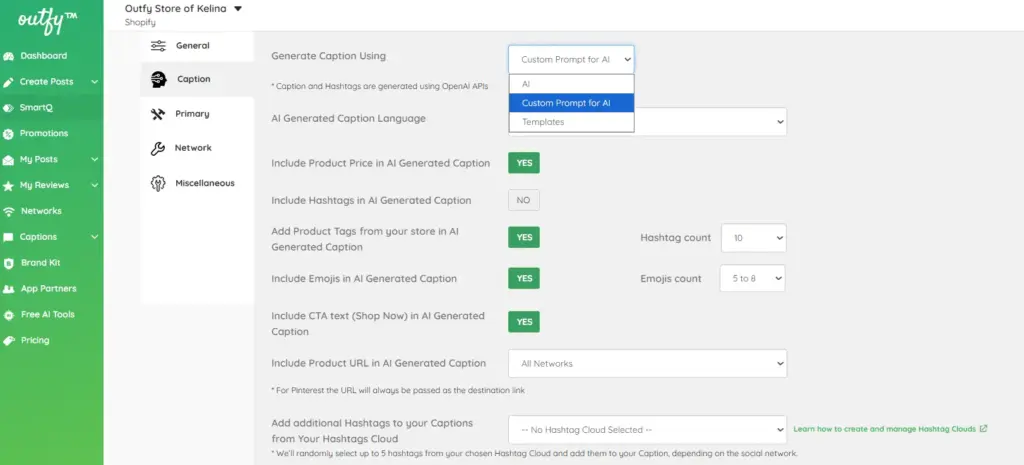
You can either use AI-generated captions powered by OpenAI, let Outfy use predefined templates, or create your own captions using the new Custom Prompt for AI option.
Note: For detailed instructions on all available caption settings and options, check the Create and Manage smartQ.
Primary Settings #
This step lets you choose which products to feature and customize the visual style of your Video.
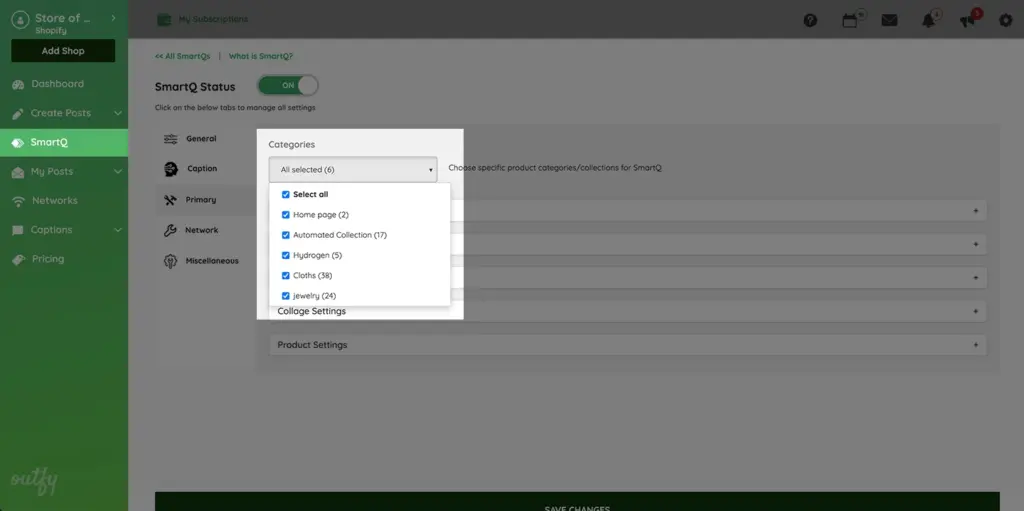
Select Categories
Choose which product categories SmartQ should use for your classic video.
- Click on the dropdown menu to view and select your product categories.
- You can include one or multiple categories depending on what you want to promote.
- Only products from the selected categories will be used for creating and posting of your classic video
Classic video Settings
Customize the look of your Classic video
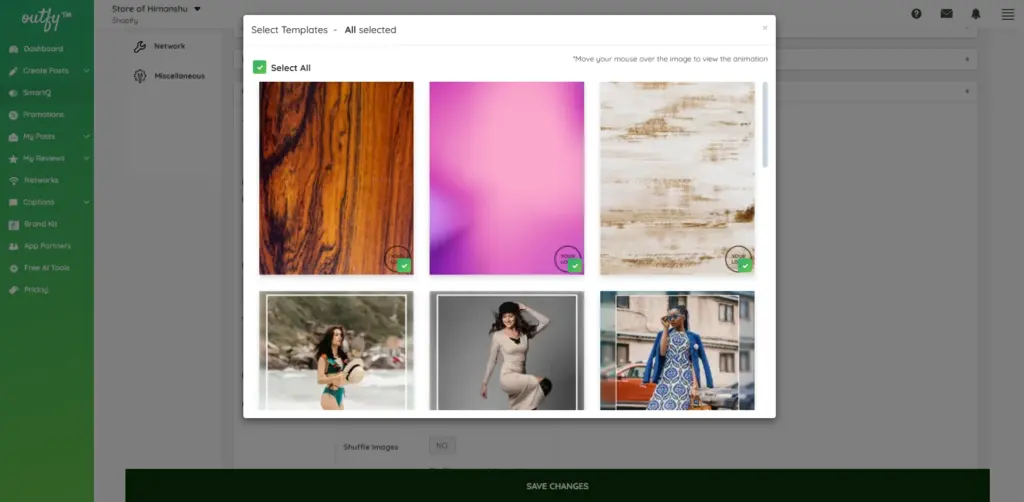
1. Templates
- Choose the templates you’d like to use for creating your videos.
- Deselect any templates you don’t want included in the automation.
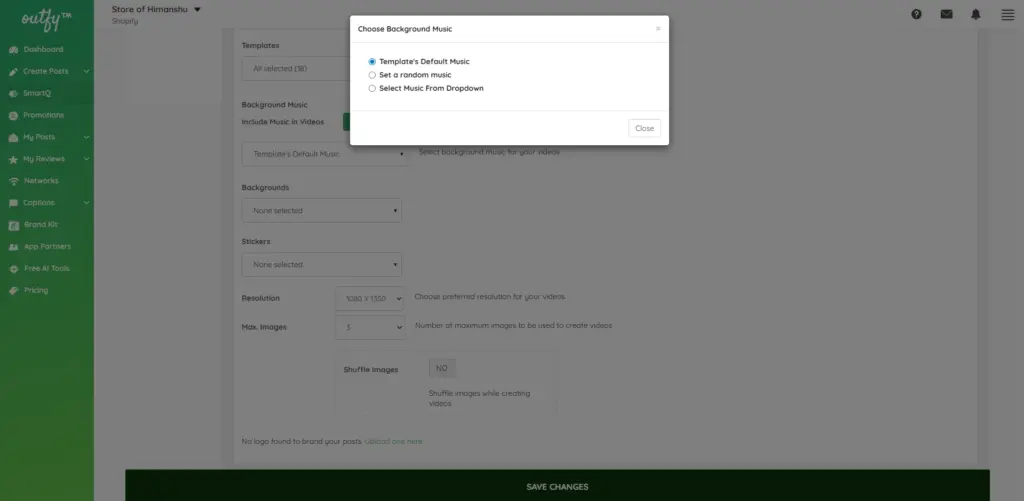
2. Background music
Choose background music by using the template’s default, setting it to random, or selecting a track from the dropdown menu.
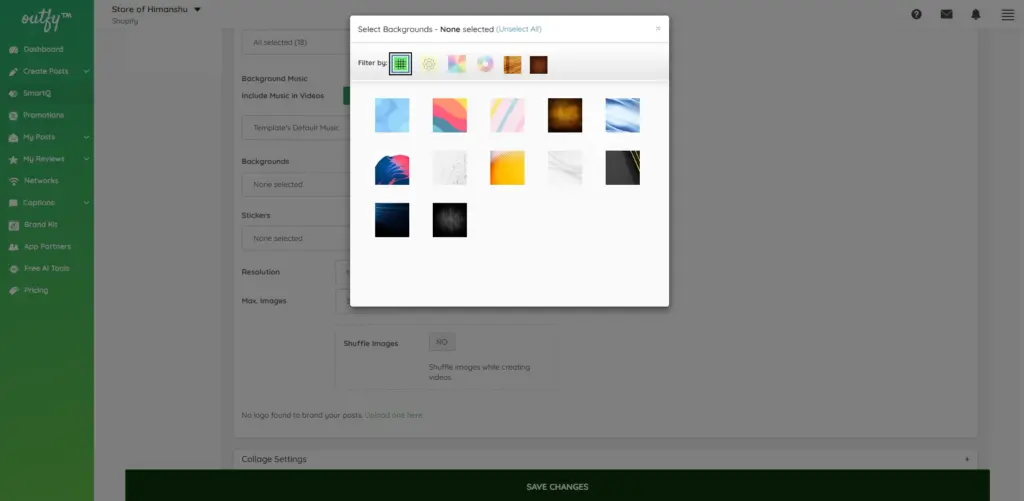
3. Backgrounds
Choose the background style for your Classic Video.
4. Stickers
Customize your collages with promotional stickers such as: “Buy Now”, “Hot Sale”, “Best Offer”, and more.
- Select the stickers you want to use in your automated posts.
- You can filter stickers by color (e.g., pink, green, blue, etc.) to narrow down your choices.
- Once filtered, only stickers in that color range will be shown.
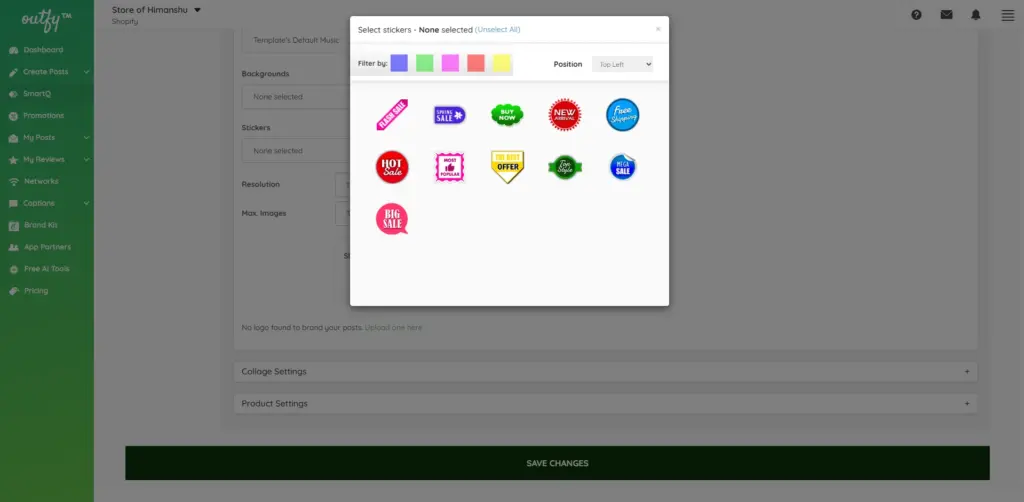
These can help drive engagement and conversions.
5. Resolution
Choose a resolution that best fits your Classic Videos:
– 1080 x 1350 px
– 540 x 675 px
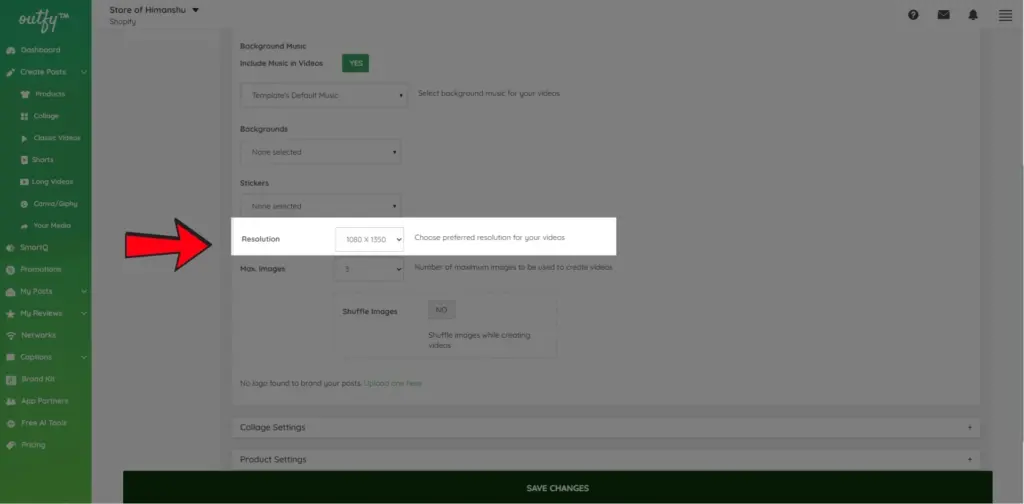
6. Image count
Choose the number of product images and whether to shuffle them in your Classic Video.
7. Store logo
Choose whether or not you want to add your store logo to your Classic Video.
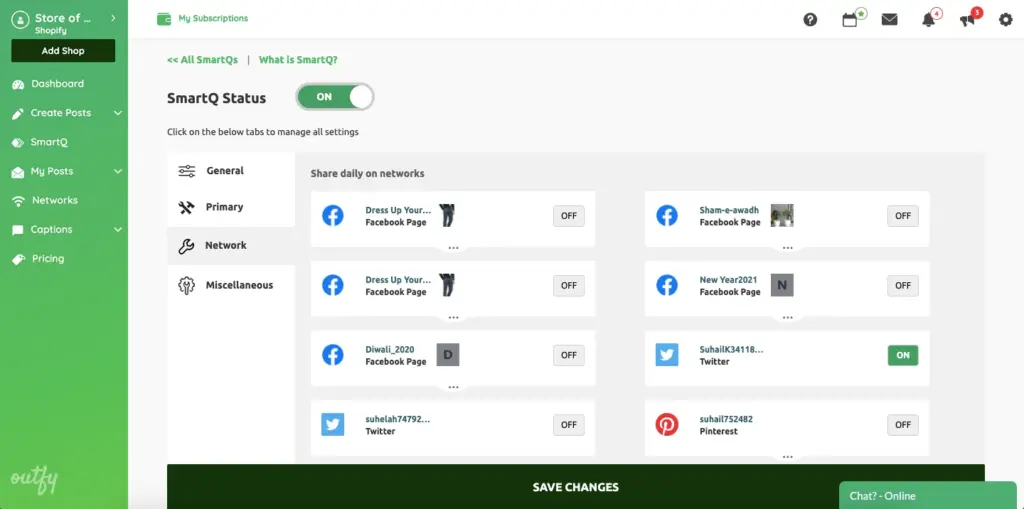
Network Settings #
Choose the platforms where you want to post.
Deselect any network you don’t want included in this automation.
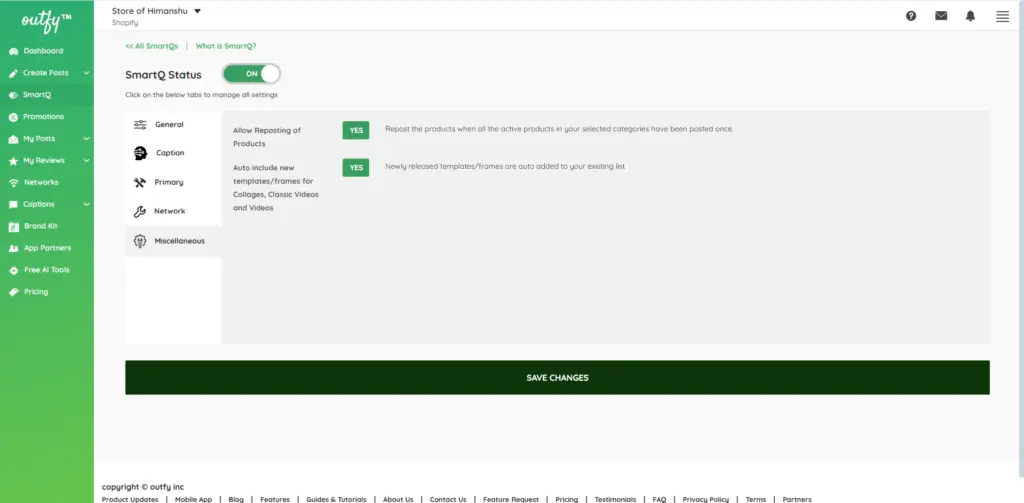
Miscellaneous Settings #
- Allow Reposting of Products
- Auto-Include New Templates: Decide whether to add new templates/frames for Collages, Classic Videos, and Long Videos automatically.
Save Your Task #
- Once all settings are configured, click Save Changes.
- That’s it! Your classic Video automation is now active and will run based on your schedule.


